Welding is a process by which metal parts can be joined together. It is generally a high temperature process that fuses or connects metal parts at the atomic level. Due to its high temperature operation, the microstructure these metal parts may change during the welding process itself. Mechanical or microscopic characterization of the weld can be performed to evaluate whether the weld has been formed properly or not. Ebatco’s NAT Lab is capable of adapting nondestructive analysis techniques such as optical microscopy and scanning electron microscopy to analyze the microstructure and phase distribution of elements at the welding site, especially around the heat-affected zone (HAZ). We can also perform indentation and scratch testing to quantitatively measure differences in mechanical properties across the weld area.

Typical Experimental Results

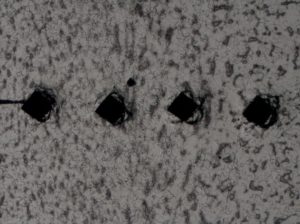
Optical microscopy image of an etched steel weld after micro indentation analysis.

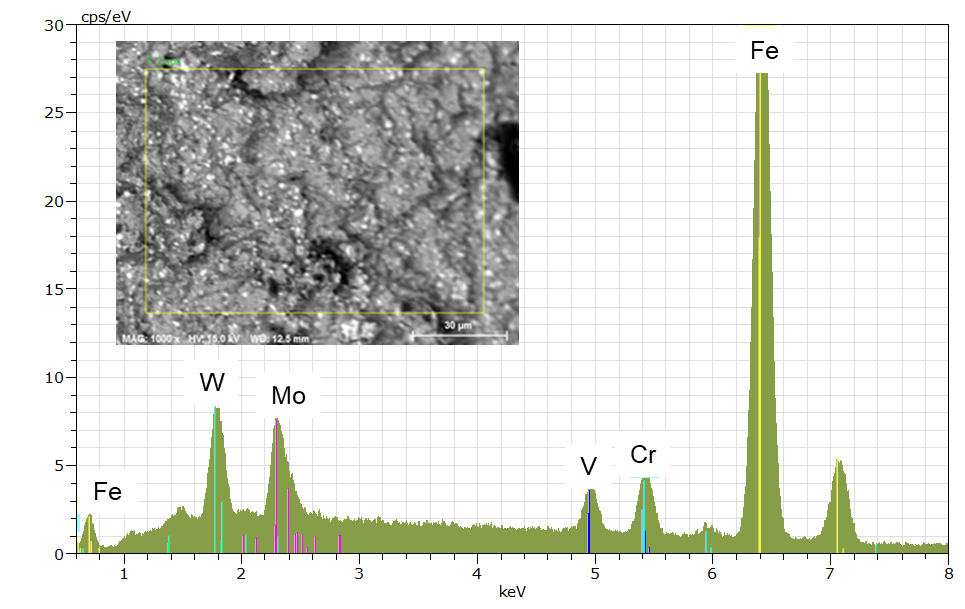
SEM/EDS analysis of a fractured metal pin. The inset image being the fracture surface of the weld between the pin’s cap and shaft.

Applications

Alloys Chemical Etching Corrosion Analysis Cross-Section Analysis Crystal Structures
Element Distribution Failure Analysis Foreign Material Identification Forensic Analysis Fractography
Fracture Study Grains Grain Boundaries Grain Growth Grain Orientation
Grain Size Grain Structure IC Failure Analysis Materials Metals
Metallography Metallurgy Microscopy Microstructure Phase Diagram
Spectroscopy Steels

For more information please read our application notes:

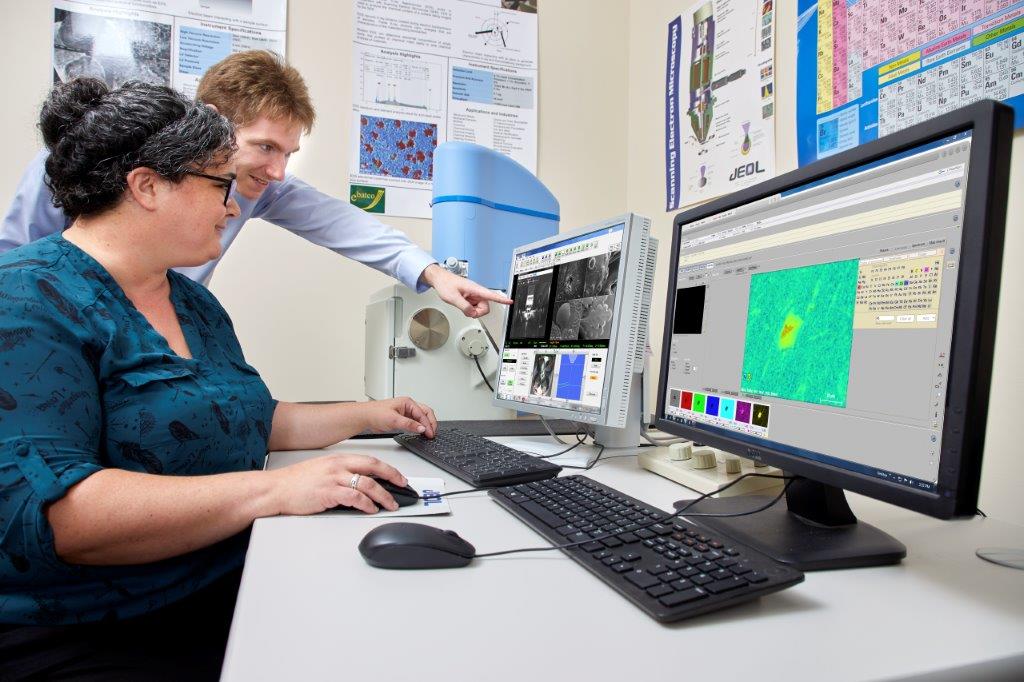
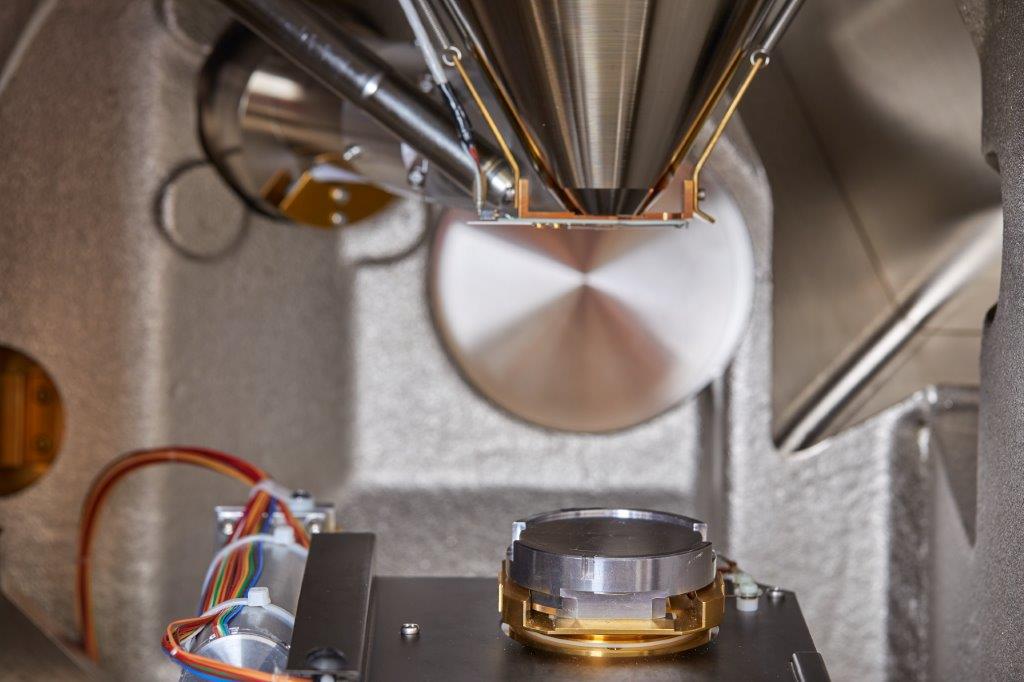
Instruments: JEOL 6610 LV Scanning Electron Microscope

Key Specifications

Filament W hairpin filament
Resolution High Vacuum: 3nm (30kV),
8nm (3kV), 15nm (1kV)
Low Vacuum: 4 nm (30kV)
Accelerating Voltage 300 V to 30 kV
Magnification 5x to 300,000x
LV Detector Multi-segment BSED
LV Pressure 10 to 270 Pa
Sample Sizes Height: 80mm; Width: 178 mm
Stage Eucentric 5 axis motor control, asynchronous movement, x-y: 125mm-110mm, z: 5mm-8mm, tilt:-10 to 90 degrees, rotation: 360 degrees
Resolution 5120 x 3840 pixels
Condenser Lens Zoom condenser lens
Objective Lens Conical objective lens
ASTM Number Title Website Link
A262 – 15 Standard Practices for Detecting Susceptibility to Intergranular Attack in Austenitic Stainless Steels Link
A763 – 93(2009) Standard Practices for Detecting Susceptibility to Intergranular Attack in Ferritic Stainless Steels Link
A802 – 95(2015) Standard Practice for Steel Castings, Surface Acceptance Standards, Visual Examination Link
A892 – 06 Standard Guide for Defining and Rating the Microstructure of High Carbon Bearing Steels Link
B657 – 05 Guide for Metallographic Identification of Microstructure in Cemented Carbides Link
B748 – 90(2016) Standard Test Method for Measurement of Thickness of Metallic Coatings by Measurement of Cross Section with a Scanning Electron Microscope Link
E1508 – 98(2008) Standard Guide for Quantitative Analysis by Energy-Dispersive Spectroscopy Link
E3 – 01(2007)e1 Standard Guide for Preparation of Metallographic Specimens Link
E340 – 00(2006) Standard Test Method for Macroetching Metals and Alloys Link
E381 – 01(2012) Standard Method of Macroetch Testing Steel Bars, Billets, Blooms, and Forgings Link
E384 – 09 Standard Test Method for Microindentation Hardness of Materials Link
E384 – 10e2 Standard Test Method for Knoop and Vickers Hardness of Materials Link
E384-09 Standard Test Method for Microindentation Hardness of Materials Link
E407 – 07(2015)e1 Standard Practice for Microetching Metals and Alloys Link
E45 – 05e3 Standard Test Methods for Determining the Inclusion Content of Steel Link
E7 – 03(2009) Standard Terminology Relating to Metallography Link
E766 – 98(2008)e1 Standard Practice for Calibrating the Magnification of a Scanning Electron Microscope Link
E768 – 99(2010)e1 Standard Guide for Preparing and Evaluating Specimens for Automatic Inclusion Assessment of Steel Link
ISO Number Title Website Link
9015-2:2016 Destructive tests on welds in metallic materials — Hardness testing — Part 2: Microhardness testing of welded joints Link
6520-2:2013 Welding and allied processes — Classification of geometric imperfections in metallic materials — Part 2: Welding with pressure Link
6520-1:2007 Welding and allied processes — Classification of geometric imperfections in metallic materials — Part 1: Fusion welding Link
5817:2014 Welding — Fusion-welded joints in steel, nickel, titanium and their alloys (beam welding excluded) — Quality levels for imperfections Link
17639:2003 Destructive tests on welds in metallic materials — Macroscopic and microscopic examination of welds Link
17635:2016 Non-destructive testing of welds — General rules for metallic materials Link
16060:2003 Destructive tests on welds in metallic materials — Etchants for macroscopic and microscopic examination Link
14271:2017 Resistance welding — Vickers hardness testing (low-force and microhardness) of resistance spot, projection, and seam welds Link